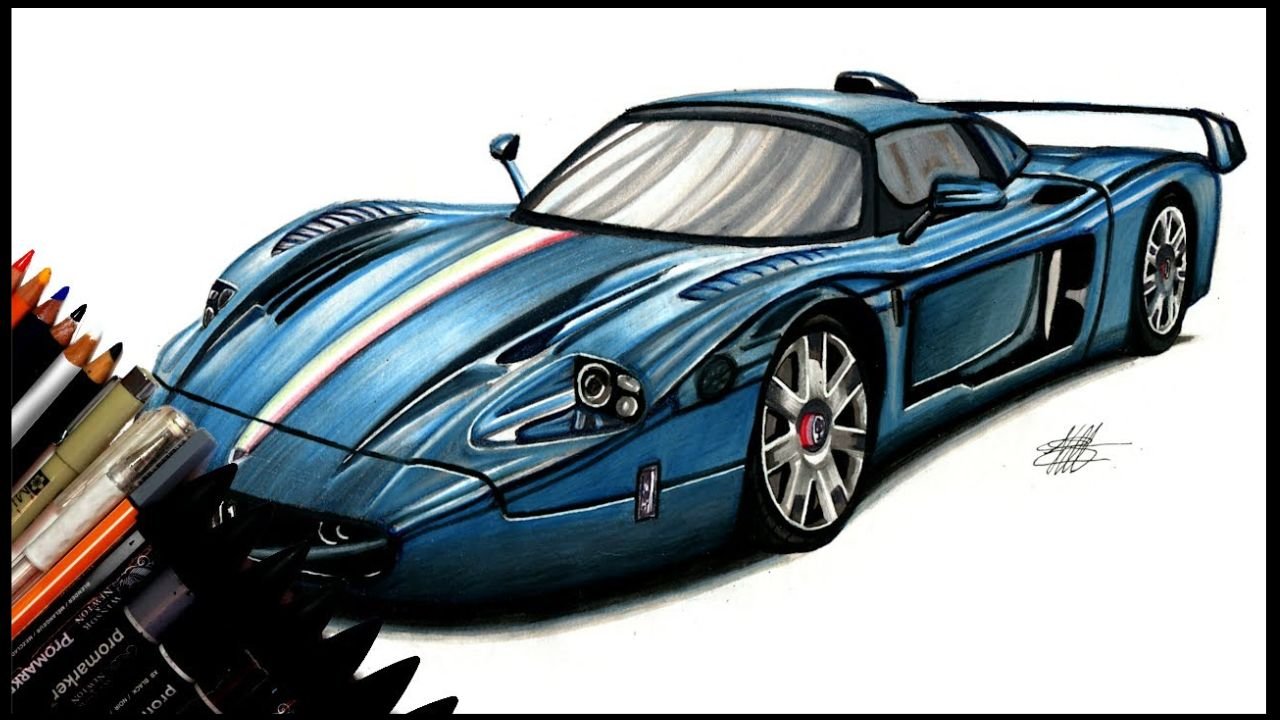
Are you an art enthusiast, beginner artist, or car lover looking to combine your passions into one fantastic project? Welcome to the ultimate drawing:burmhcczepe= car tutorial for beginners! This guide will walk you step-by-step through the fundamentals of creating a remarkable car illustration. By the end, you’ll have the confidence to tackle car sketches effortlessly, with techniques that elevate your skills to the next level. With the focus keyword “drawing:burmhcczepe= car” as your guide, let’s start sketching this masterpiece together!
Setting the Stage for the Ultimate Drawing Challenge
Drawing complex objects like cars may seem intimidating at first, but in this tutorial, we’ll simplify the process. Whether you’re starting with stick figures or have some drawing experience, you’ll discover dynamic techniques to bring life and accuracy to your car sketches.
This tutorial focuses on drawing the burmhcczepe= car, a unique subject requiring precision in lines and shading techniques. You’ll learn to sketch its foundation, add realistic details, bring depth with shading, and polish your art to perfection. It’s time to get your pencils ready and start creating!
Understanding the Basics: Sketching the Foundation of Your Car Drawing
Every great drawing starts with a solid foundation, and car sketches are no exception. To master drawing a burmhcczepe= car, begin by understanding the car’s anatomy.
Materials You’ll Need
- Graphite pencils: Preferably 2B, 4B, and 6B to handle both fine lines and shading.
- Eraser: A kneaded eraser works best for delicate corrections.
- Ruler: To keep your proportions in check.
- Paper: A good-quality sketch pad for clean, smooth lines.
Step-by-Step Guide to Laying the Foundation
- Start with Basic Shapes: Map out your drawing by sketching a rectangle for the body of the car and circles where the wheels will go. Keep these lines light, as they’ll act as guidelines.
- Outline the Car’s Silhouette: Using a darker pencil, refine your basic shapes into a smooth outline of the burmhcczepe= car’s body.
- Block Out Proportions: Pay attention to the car’s dimensions—ensure the roof, wheels, and windows are proportionate.
By mapping the basic structure, you’ll set the stage for a well-balanced car illustration.
Adding Detail and Depth: Techniques for Realistic Car Features
Once you’ve established the foundational outline, it’s time to add intricate details to your drawing:burmhcczepe= car. These small touches make all the difference in capturing realism.
Detailing the Car’s Features
- Wheels and Tires: Add tread details to the tires and draw rims with geometric symmetry for authenticity.
- Windows and Mirrors: Shade lightly for a transparent effect, and don’t forget to add the side and rear-view mirrors.
- Grille and Headlights: Sketch the car’s grille with vertical or horizontal lines and add reflective touches to the headlights.
Precision is key in achieving a visually striking drawing. Focus on clean, tiny strokes to emphasize a broader range of details.
The Art of Shading: Bringing Your Car Drawing to Life
Shading is where your drawing of burmhcczepe= car starts to truly shine. Adding depth with shadows and highlights creates a 3D illusion that makes your car feel tangible.
Tips for Masterful Shading
- Identify Light Sources: Determine the direction of your light source and map shadows accordingly.
- Blend Gradients: Use a blending tool or your finger to smooth out transitions between light and dark.
- Highlight Reflections: Add subtle highlights to areas like the car’s hood or windows to mimic natural light.
Practicing these techniques will give your drawing the polished, realistic appearance of a professional sketch.
Final Touches and Reflections: Making Your Car Pop
The final step is refining, erasing unnecessary guidelines, and adding unique touches to make your artwork stand out.
Enhancing Your Drawing
- Clean Edges: Use an eraser to sharpen edges and remove smudges.
- Reflections: Add small, sharp white marks to indicate reflections on metallic surfaces.
- Background: Consider a minimalist background to frame your car or leave it blank for a cleaner look.
These finishes define the personality of your burmhcczepe= car drawing, leaving a lasting impression.
You May Also Like: Discovering the Magic of Anime:doqj3fxnevs= Cat
Conclusion
Drawing a car is both a challenging and rewarding artistic endeavor. By following the steps outlined, from initial sketches to refining details and adding the final touches, you can create a piece that showcases both technical precision and creative flair. Remember, practice and patience are key to mastering this craft. With time, your car drawings will not only capture the essence of automotive design but also reflect your unique artistic style. Keep experimenting and refining your techniques to bring your vision to life!
FAQs
Is drawing a burmhcczepe= car suitable for beginners?
Absolutely! This tutorial simplifies the process, making it accessible for anyone passionate about learning car illustration.
What tools are best for car drawing?
Graphite pencils, a good eraser, and smooth paper are essential. For advanced shading, blending tools are useful.
How do I make my car sketches look realistic?
Focus on mastering shading, adding details to features like wheels and windows, and paying attention to proportions.
How long does it take to master car drawing?
It varies per individual, but consistent practice over a few months can lead to significant improvement.
Can I use digital tools for burmhcczepe= car drawing?
Yes! Applications like Procreate and Adobe Illustrator are great for digital car illustrations.